Download the latest software from here.
The download zip will contain the following directories:
- desktop – the windows desktop application (documentation here)
- mobu – the motion builder plugin (documentation here)
- unreal – the unreal engine plugins (documentation here)
Quick Start (Unreal Engine)
Download the “zip” packaged software from the link above and extract the contents from the zip file.
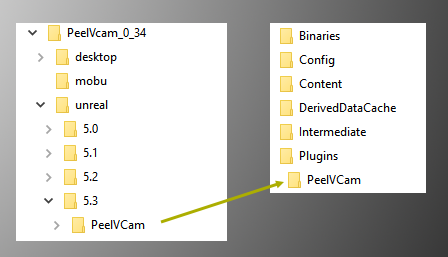
Add the unreal plugins to your project in a directory called Plugins, next to the Content folder; Copy the “PeelVCam” and “PeelCore” directory in to the plugins folder. Make sure to copy the correct version of the plugin matching your version of unreal, or it will ask you if you want to rebuild it and will likely fail.
Unreal Version 5.3 and on are supported.
Launch the unreal project
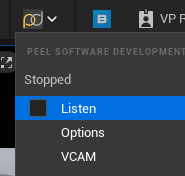
Click the “PeelDev” icon in the toolbar and check “Listen” to enable the connection to the desktop app, then click “VCAM” to open the utility panel.
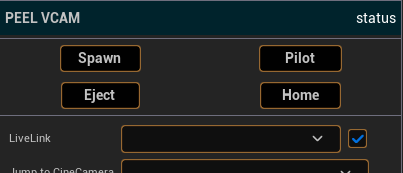
Click “Spawn PeelVCam” to create the camera rig then “Pilot VCam” to make it the active camera. Set the Live Link source using the dropdown, to drive the motion of the camera by your mocap system.
Launch the PeelVCam desktop app, by running deskop/VCamDesktop.exe
Select Options -> Settings and ensure the port number matches the port number in unreal. The default is 9159..
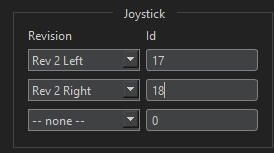
In the joystick panel of the settings window, enter the joysticks type (e.g. Rev2 Left/Right) and enter the joystick IDs. The ID’s should be written on the hardware. Leave blank to auto assign the id to the next message received.
Click Okay to close the settings.
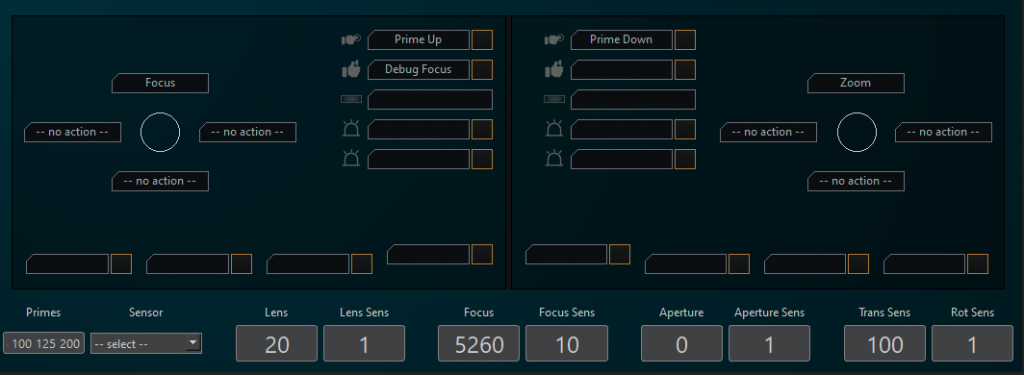
Click on the box above the circle on the left and select “Zoom”:
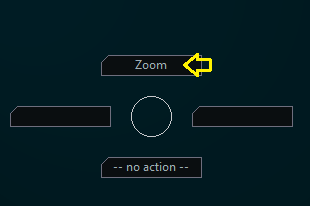
Click and drag the circle to simulate the joystick moving. You should see the lens zoom in and out in unreal.
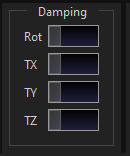
Move the damping controls to the right and back to the left to reset the damping. The default value for damping is fairly high and it is not updated until you move these controls.
Plug in the dongle in to the PC running the desktop app.
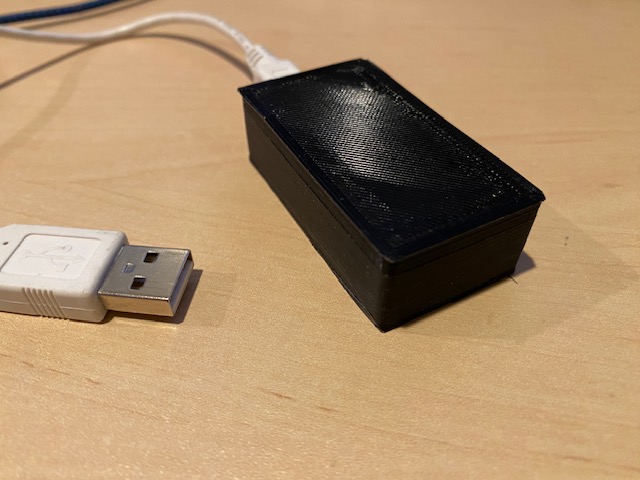
You should see “COM | TCP 1” at the bottom left showing you are connected to the joysticks (COM) and Unreal (TCP)

The hardware should drive the desktop app and the desktop app should now send commands to unreal.
Set the following settings for navigation:
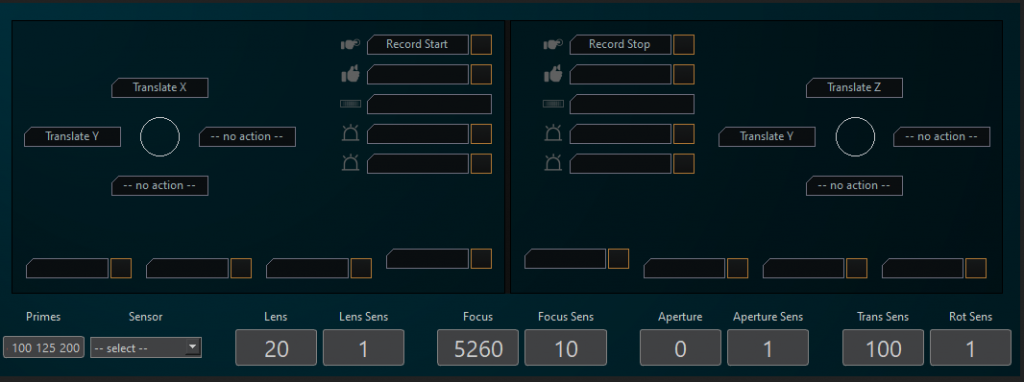
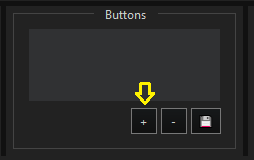
In the buttons panel hit “+” to save a preset and name it “navigation”
Set the buttons with the following new configuration:
Save a button preset called “Lens”
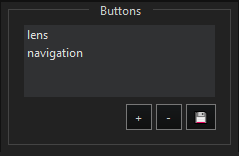
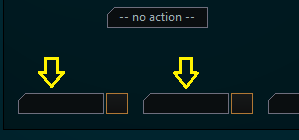
Set two undefined buttons to being “Buttons” -> “lens” and “Buttons” -> “navigation”
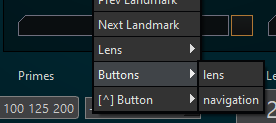
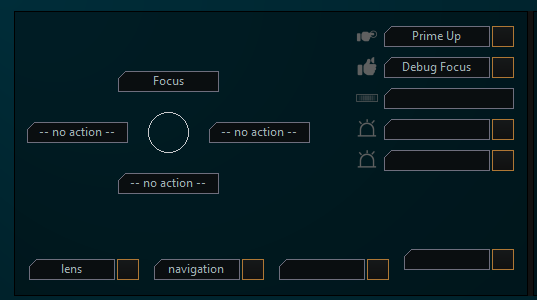
Clicking these buttons now will load that preset, allowing the joysticks to switch between lens controls and navigation controls.
Set other controls as desired.