General
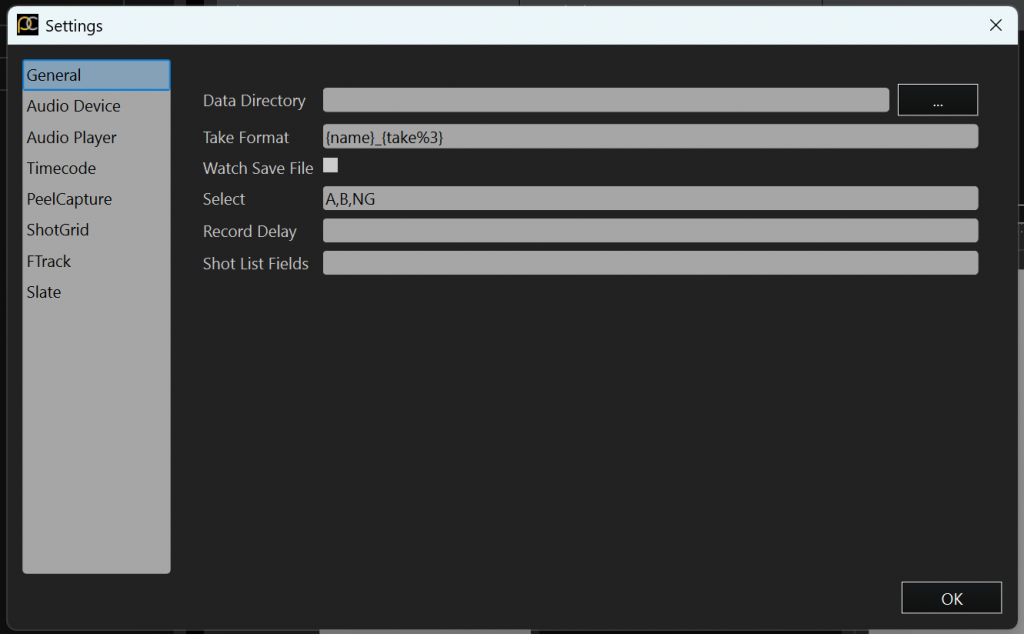
Data Directory: File path to the directory where your recorded takes will be stored. The data directory can be changed by clicking the “…” button and then selecting a new Data Directory folder.
Take Format: Displays how shot name and take numbers are resolved in to current take names. This setting can also be edited by double clicking on the current take name in the ‘transport window’. The following variable substitutions can be made:
{id} – sequential id, increments throughout the day
{id%3} – take id, padded with zeros
{take} – the current take number, resets between shots
{take%3} – the current take number, padded with zeros
{name} – the current shot name
{tag} – additional field for use as a suffix or other use
Adding the “tag” field to the take format will reveal a tag input dialog in the transport section of the main window.
Watch Save File: If the .peelcap file changes, load in the change. This is useful for running two copies of peel capture and having them save to a network location for syncronization.
Select: Options for the select field in the ‘Takes’ Panel of PeelCapture. Different options should be separated by a comma as shown in the screenshot above.
Record Delay: Set a number of seconds to delay the start of recordings after the record button is pressed. Useful for when operating a mocap shoot solo.
Shot List Fields: Additional columns added to the shot list. This data will be passed on to the take, but is not used by PeelCapture. Adding a column named “tag” will update the optional tag field if it is enabled in the take formatting (See Take Format above)
Audio Device
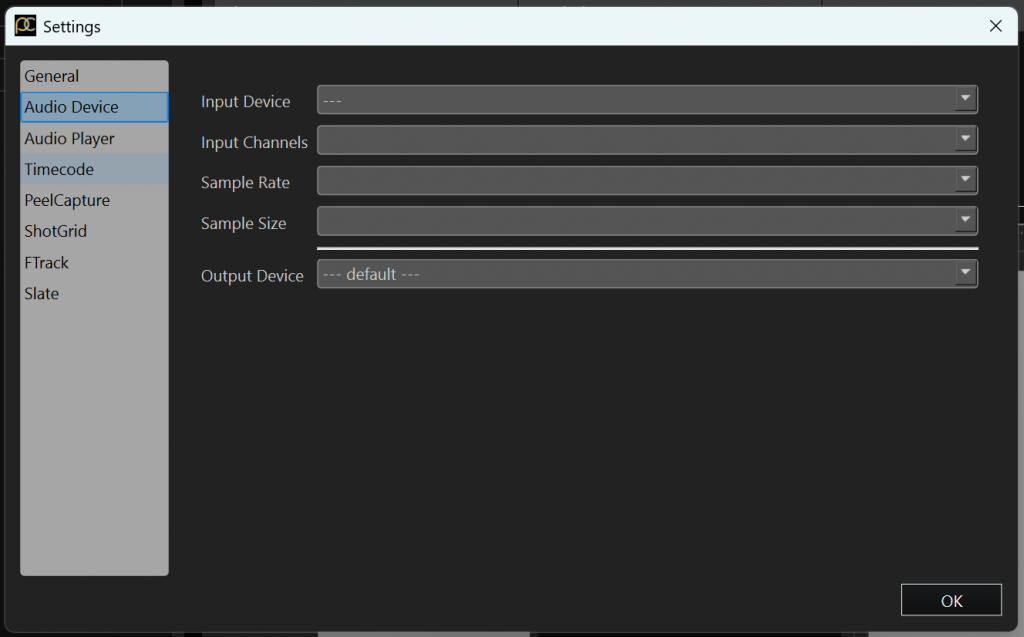
Input Device: Select the audio device to be used for audio recording, timecode, or both. Only one audio device can be selected. Input Device must be selected to edit the other related fields.
Input Channels: Select the number of audio channels that you would like to be available for timecode or recording. This will be shown in the Audio Panel as well as the number of options available for selection in the Timecode tab.
Sample Rate: Audio sample rate.
Sample Size: Audio sampling size.
Output Device: Select the audio device to be used for audio output generated from Peel Capture. For example, the audio to indicate a take has started or ended.
Audio can be added as a device to record all channels of the audio device. These channels will be saved as individual .wav files in the Data Directory Folder/Audio Device Name.
Audio Player
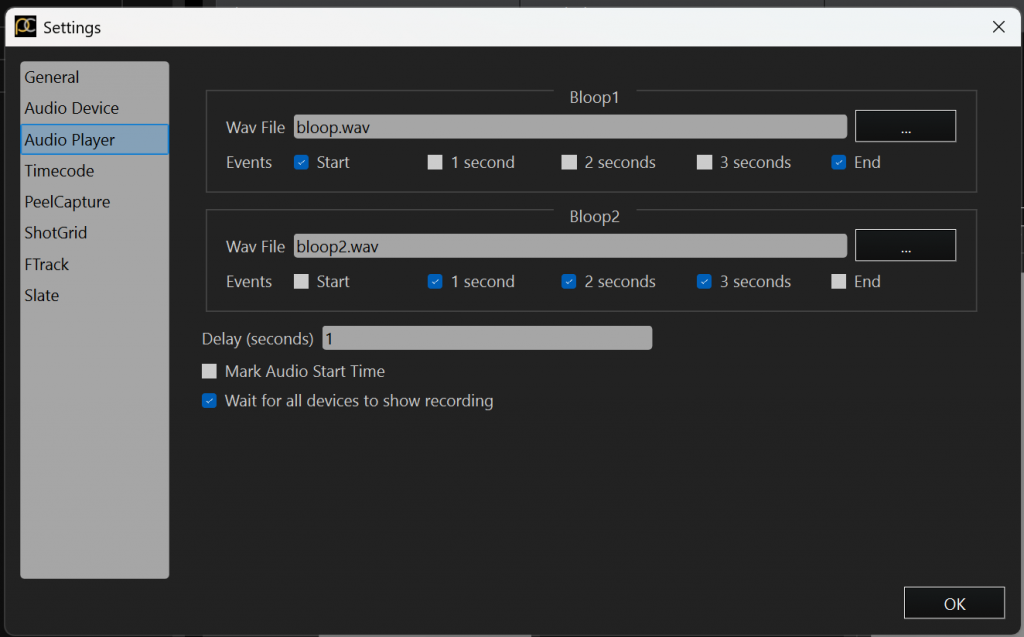
Bloop 1 & 2 wav: Select the audio file used during Bloop Events. Bloop1 and Bloop2 will play the associated file at the start and end of recording respectively.
Delay (seconds) – This option will delay the ‘Bloop’ wav at these intervals at the start of recording if adjusted.
Mark Audio start time : Creates a timecode ‘mark’ for when an music/audio file plays during the take.
Wait for all devices to show recording : This will allow for all devices to begin recording before playing the ‘bloop’.
Timecode
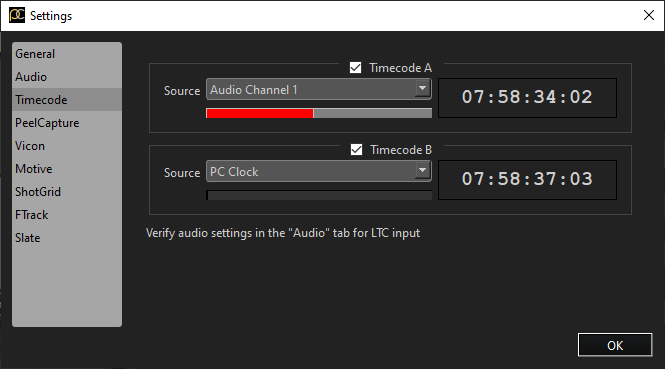
Timecode setting will default to the PC Clock, or select the source to read the timecode in from your own source. Built in options are PC Clock, Vicon, and Motive.
Note: For an external timecode source, you must set the proper audio device in the ‘Audio Devices’ tab for the audio channels from your device to be selectable. Active channels can be seen in the Audio panel in the bottom right of the interface. Audio level can be seen in the Timecode tab and Audio panel.
The level meter will show if the audio source signal is active and should usually be floating somewhere in the middle of the bar. If it is too far to the left or all the way to the right, the timecode value may glitch or fail. The quality of the audio interface device will affect the performance of the timecode.
The starting and ending timecode value is saved for each take.
PeelCapture
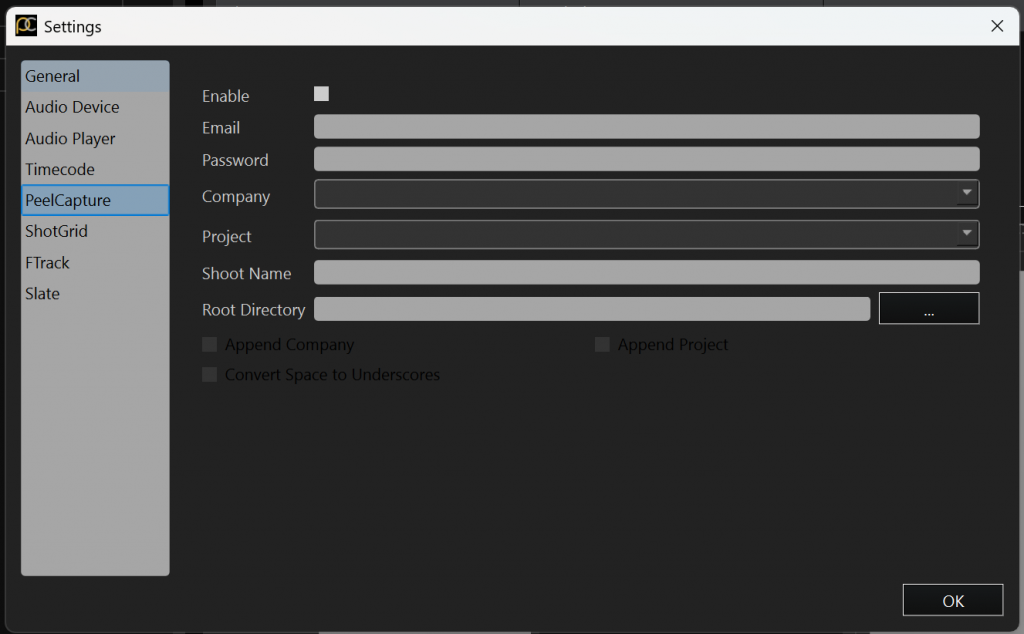
Enable – Select this to connect/activate your account
Email/Password – Enter your credentials for PeelCapture online services for uploading data and managing projects.
Company – Select the ‘company’ for the shoot.
Project – Select your project, the dropdown contains past projects via the dropdown but you may enter new projects into the text field. This will also be apart of the file directory created for each shoot for cleaner organization.
Shoot Name – Name of the current shoot and what the files will be sorted into once harvested and stored.
Root Directory – The directory where Logs and .peelcap files will be stored
Shotgrid
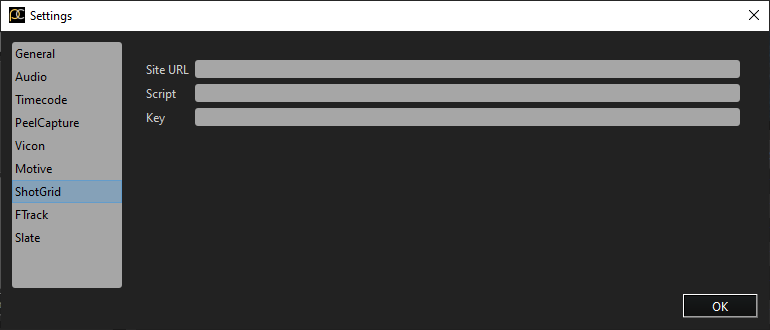
The Shotgrid site url, script name, and key can be entered for uploading data to Autodesk Shotgrid. Further configuration can be done by editing python/peel/shotgrid_publish.py.
More information on how to configure shotgrid can be found: here.
FTrack
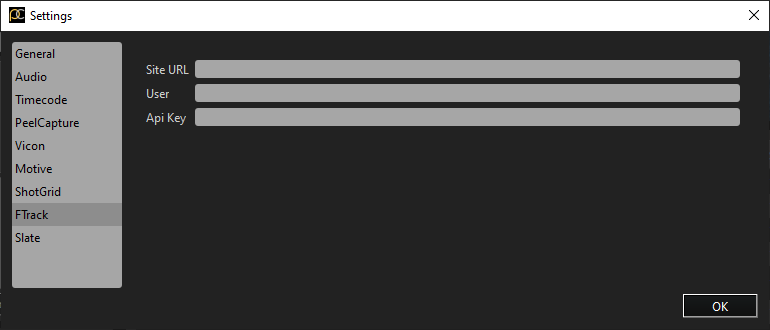
The FTrack site url, script name, and api key can be entered for uploading data to FTrack. Further configuration can be done by editing python/peel/ftrack_publish.py.
Slate
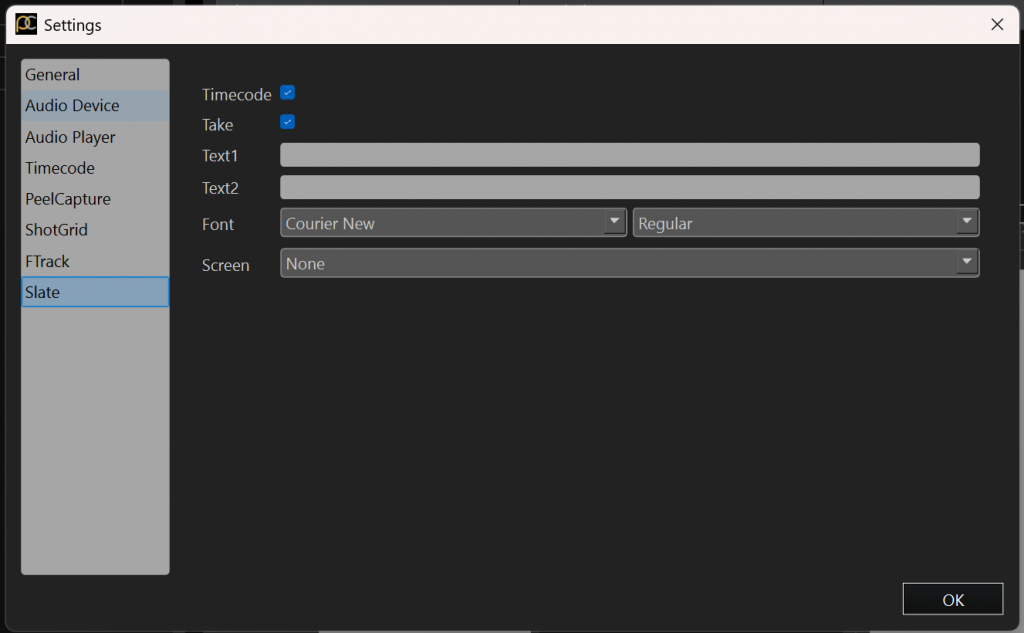
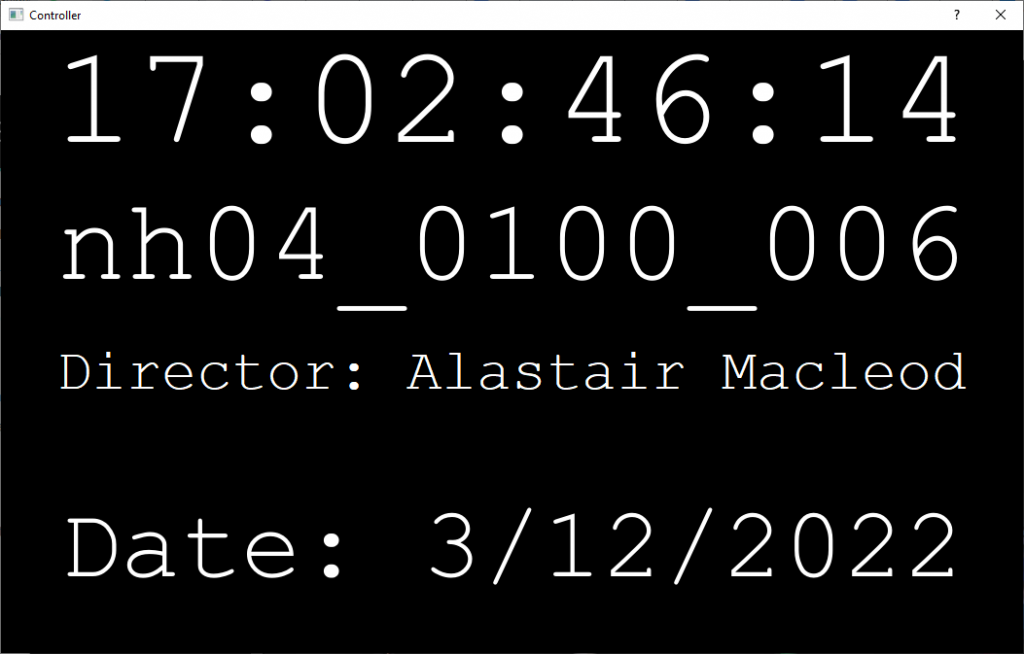
The information shown in the slate window and font can be modified in the Slate Settings.
The slate window can be shown by selecting the “Slate” item in the “Window” dropdown menu.
This window can shown on a second display during the shoot, or recorded to a device for reference video.