This document outlines how to set up Autodesk Shotgrid Integration with PeelCapture.
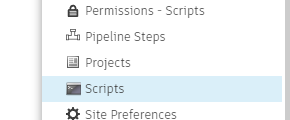
- In your shotgrid site, click on the user icon at the top right and select “Scripts”
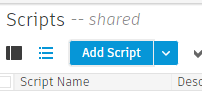
Click “Add Script”:
Name the Script “PeelCapture”
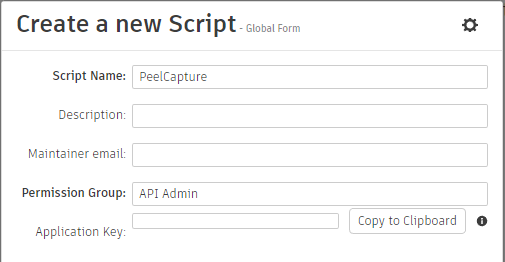
Copy the api key to the clipboard and save it somewhere for future reference, i.e. in a password manager.
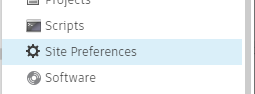
Click on the user icon at the top right and select “Site Preferences”:
Expand the “Entities” panel:
Scroll to “Shoot Day”:
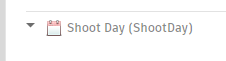
Enable Shoot day

Repeat this process for all the required entities: ShootDay, TaskTemplate, MocapTake and Performer.
Scroll down to the bottom and click the Save Changes button:
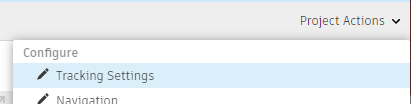
Go to the project homepage you will be adding the content to and select “Project Actions”, “Tracking Settings” at the top right
Expand the “HIDDEN” section in the navigation bar on the left
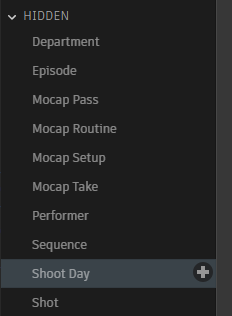
Enable all required entities: ShootDay, TaskTemplate, MocapTake, Performer
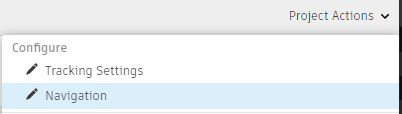
Return to the project page and Select “Project Actions”, “Navigation”
Drag “Shoot Days”, “Mocap Takes”, “Performers” and “Versions” in to the Navigation. This step is optional.
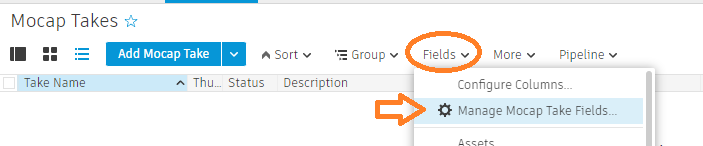
In the Mocap Takes page, select “Fields” and “Manage Mocap Take Fields”
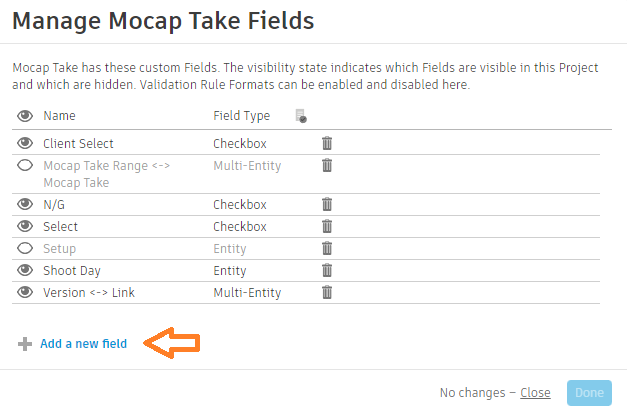
Click “Add a new field” at the bottom
Create a new text field called “tc_start”
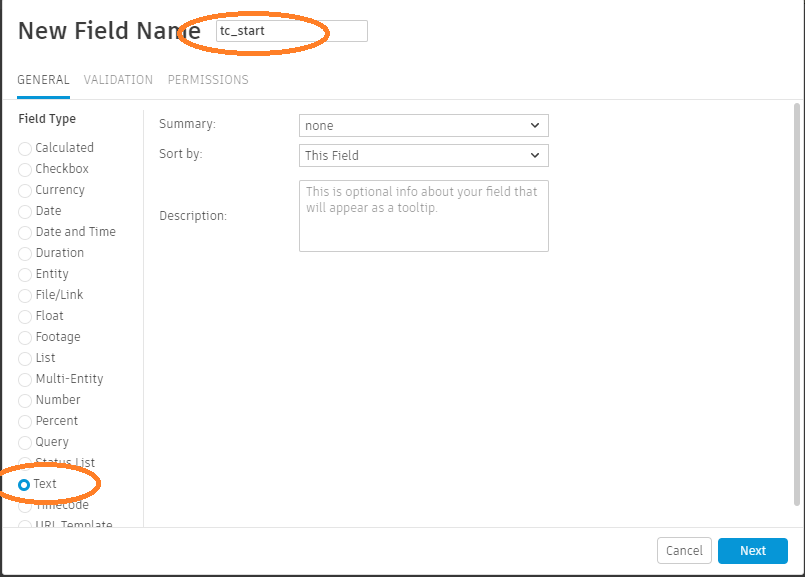
and another called tc_end:

Don’t use timecode as the attribute type as shotgrid can get confused about different framerates, so it’s best to encode this value as a string to maintain accurate tracking of this value.