The settings can be customized via Options Menu -> Settings.
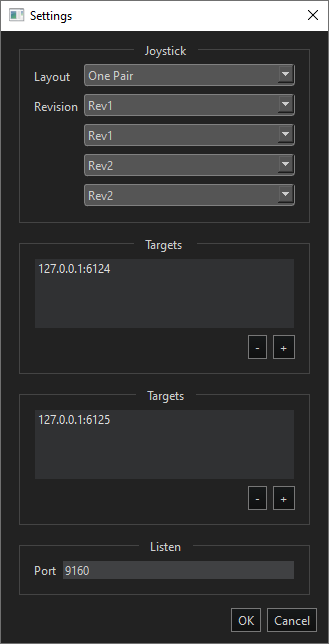
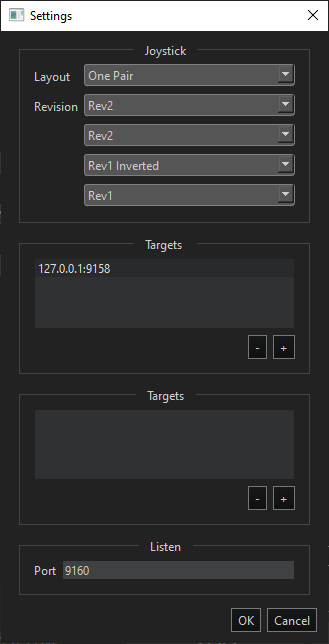
The Layout dropdown controls how many joysticks are shown – A single one, a pair, or two pairs. The two pairs can be shown horizontally or vertically in the main window.
The Revision dropdown controls which joystick revision is available in each panel. Use “Rev1” for the joystick that has a switch control and 4 buttons. Use “Rev2” for the playstation joystick that has the scroll wheel and trigger button.
The first Targets group is for the first pair or joysticks. Add the host name and IP address of any PC’s that need to receive the messages – i.e. instances of Motion Builder or Unreal Engine.
The second Targets group is for the second set of joysticks. Add the host name and IP address of any PC’s that need those messages. Make sure to use a different port number if the are running on the same PC.
The listen port is where the software listens for messages, specifically from PeelCapture. Set this to a unique port.
Connecting to Peel Capture
To trigger Record/Stop/Playback from VCAM follow these steps:
- In the Desktop application add a target by going to Options-> Settings -> Targets -> +
- For the Host field enter the IP of the machine running PeelCapture.
- For the Port field enter a port number that is not being used.
- Select OK
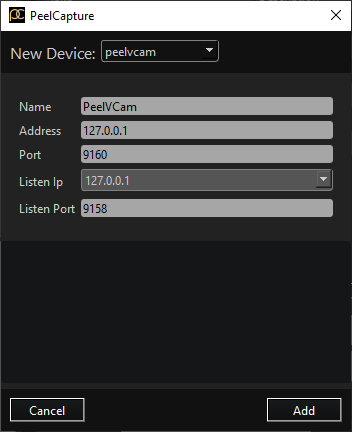
- In PeelCapture add a new device in the Devices Panel.
- Select peelvcam in the dropdown menu.
- For the Address field enter the IP of the machine that is running the Desktop Application
- For the Port field enter the Listen Port found in the Desktop Application’s settings.
- For the Listen IP select the IP you listed at step 2.
- For the Listen Port enter the Port number you entered at step3.