This document describes how to add the Open3dStream plugin to an unreal project.
Overview
- Download the latest release from http://open3dstream.com
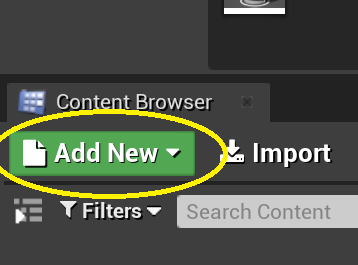
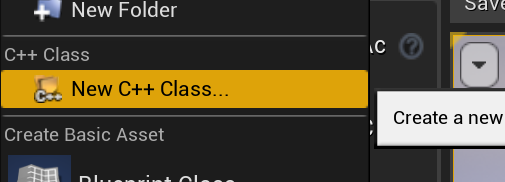
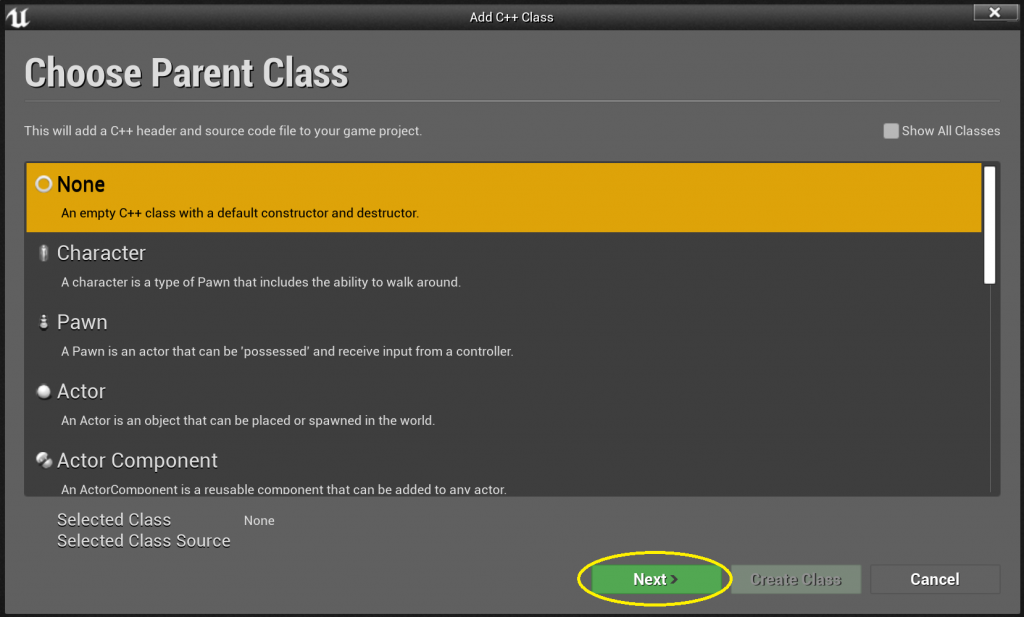
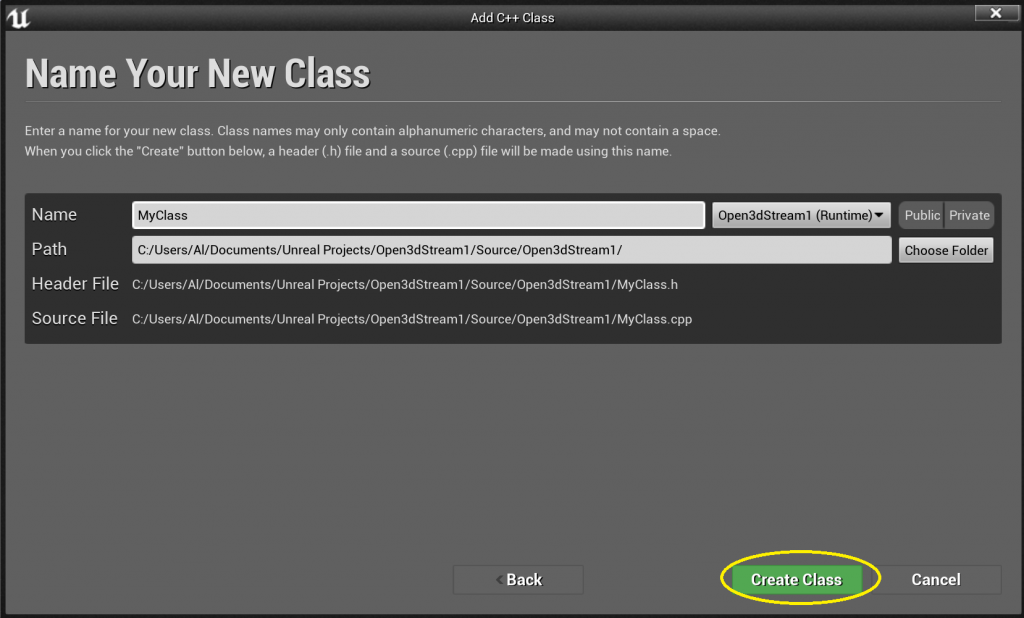
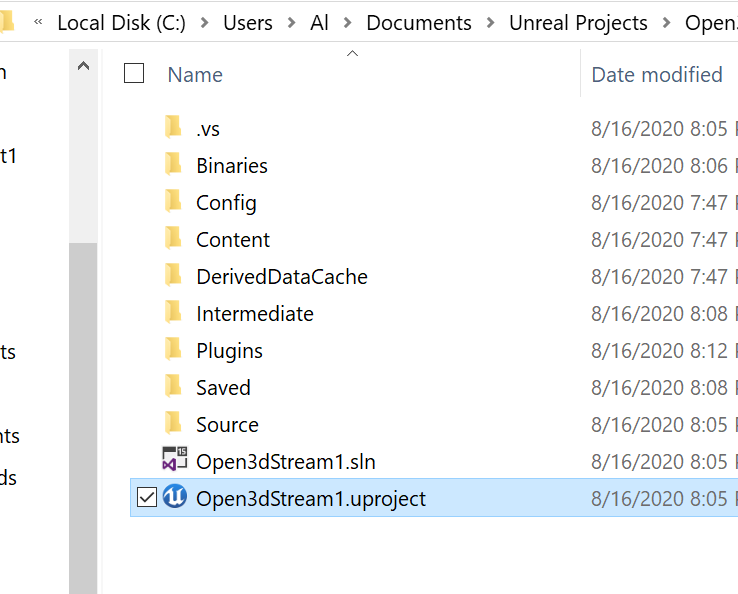
- If you do not have a “Source” folder in your project, add c++ class (any class)
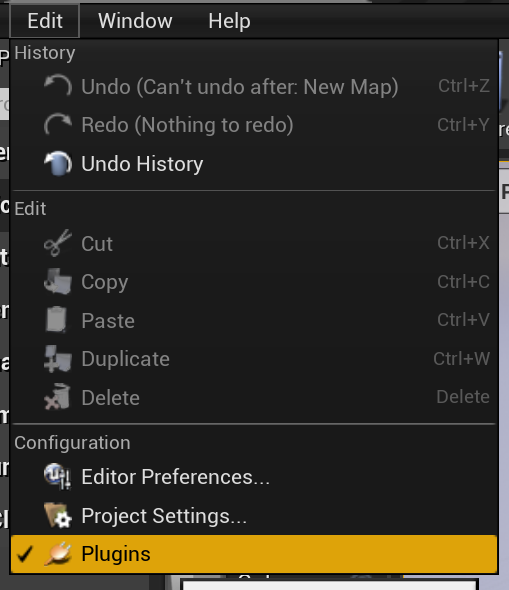
- Enable the live link plugin
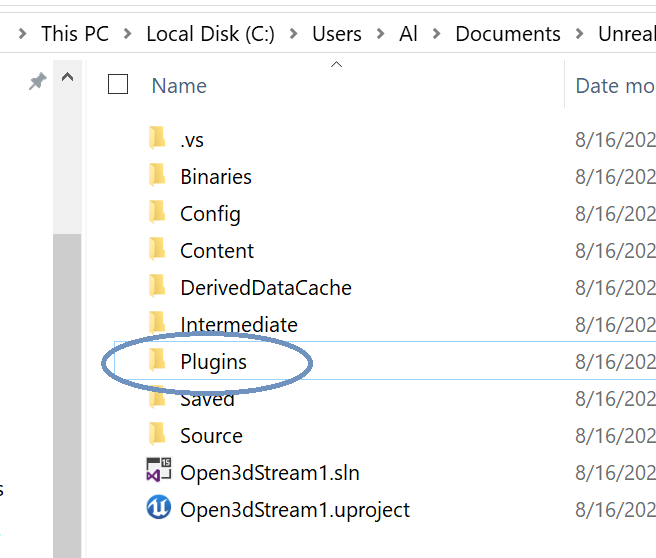
- Create a “Plugins” folder in your project if it doesn’t exist
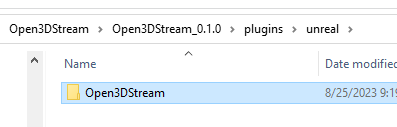
- Add the O3DS plugin to your project
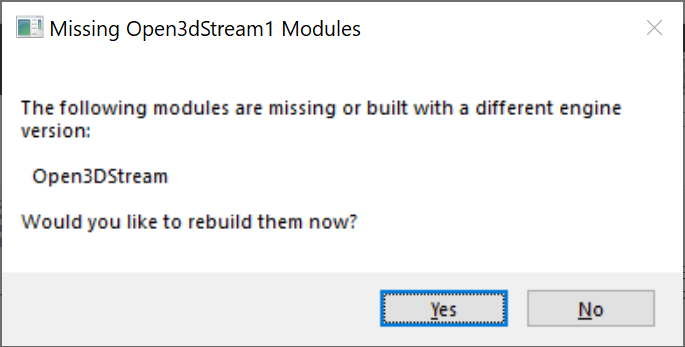
- Launch the Project and build the plugin.
- Add an Open3dStream source to live link, and specify the url you want to connect to.
Adding a C++ class
Unreal will not compile plugin code if there has not been any code added to the main project. You can check to see if your project has code by looking in the “Source” folder. There should be two files in there that end with “.Target.cs” and “EditorTarget.cs” as well as at least one .cpp file in one of the folders.
The easiest way to enable compiling is to add a c++ class to your project within the editor.
Enable the live link plugin
Select Edit -> Plugins
Search for “Live Link” – without the quotes and with a space between the words.
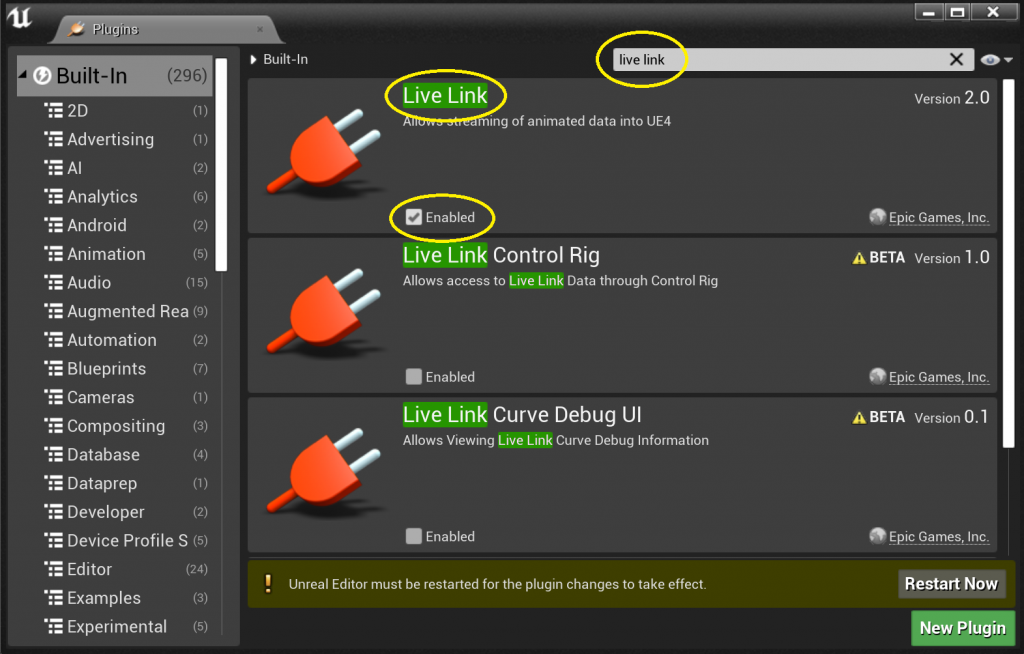
Check the live link plugin and choose “Restart Now” to restart the editor.
Adding the plugin
Close the project if it is running, and create a “Plugin” folder at the root of your unreal project (next to “Content”, “Saved”…)
Launch Unreal
Now you should be able to launcch unreal editor.
The first time you launch the project, it will ask you if you want to compile the code.
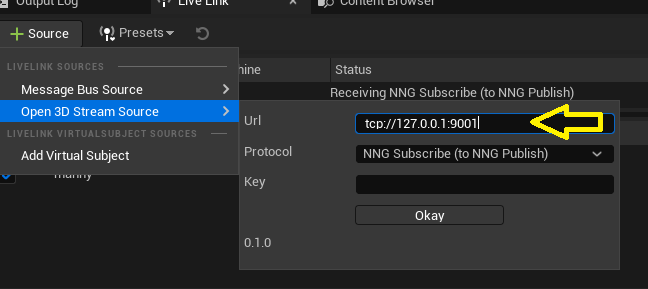
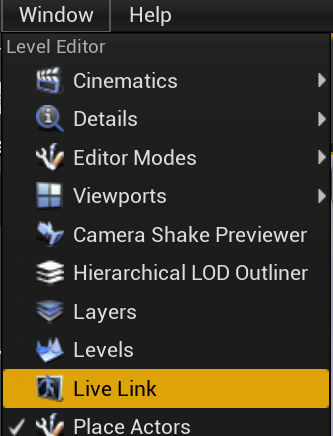
Add Open3dStream to Live Link
Open the live link pane. If this menu option is not avaiable you will need to add the live link plugin and restart.
Add the Open3dStream source, and provide the url you want to connect to. The url needs to be in the form tcp://address:port