This document outlines how to set up a character in Unreal Engine to allow switching of Performer -> Character mappings in PeelCapture and Unreal.
Download Plugin
Download the PeelUE plugin and install the PeelCore for the correct version of Unreal. The PeelVCam plugin is not needed.
Create Animation Blueprint
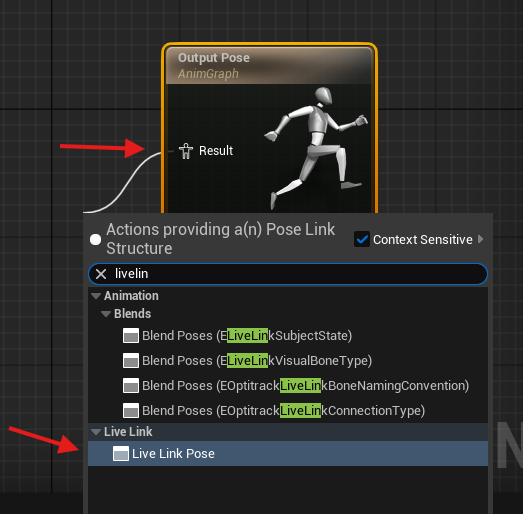
Create an animation blueprint for your Character and set the Pose Input to being LiveLink:
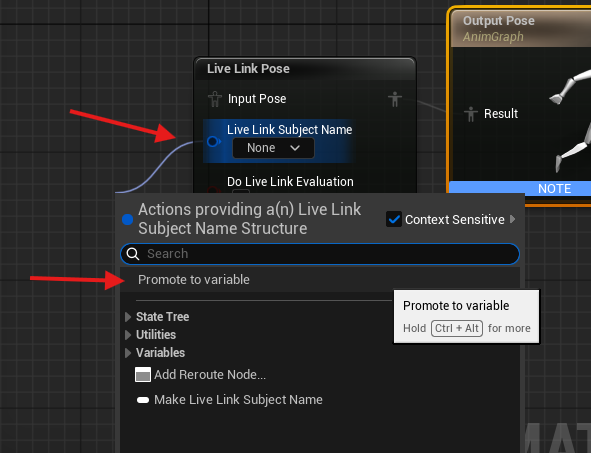
Make a variable for the subject name.
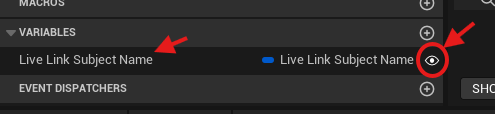
Leave the variable name as the default “Live Link Subject Name” and click the eye to make it public. The name is important, the plugin will look for that variable by name.
Character Blueprint
Now make a Actor Blueprint to hold the Skeleton Mesh and the PeelBind component. If you already have a Actor or Character blueprint that containts your Skeleton Mesh, skip forward to adding the PeelBind component and setting the animation blueprint.
Create new Blueprint Class
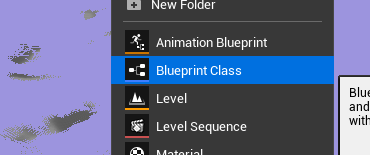
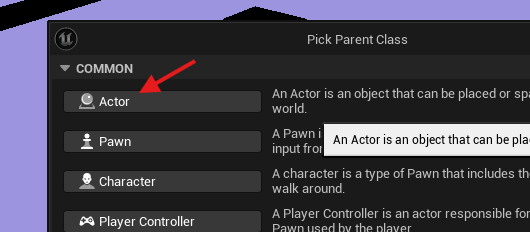
Create as an Actor
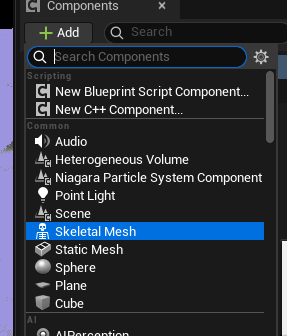
Add a skeleton mesh component to the new Actor blueprint you created:
Set the Skeleton Mesh Asset
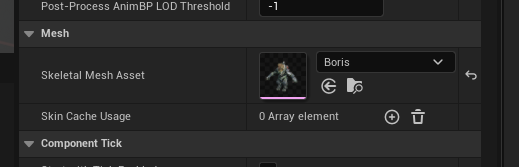
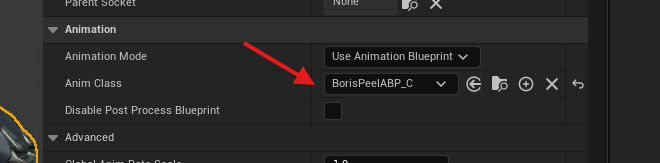
Set the Animation Blueprint on the Skeleton Mesh to the one you created (above).
Add a Peel Bind Component, under the Skeleton Mesh Component
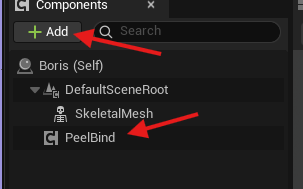
PeelBind Component sets the subject name attribute of the animation blueprint.
The PeelBind Component will receive network messages from PeelCapture to change the Performer -> Character mapping. It does not need to be connected with any blueprints or attributes. The Peel Bind Component will look for any skeleton meshes attached to the same actor, then look for the animation blueprint to see if it has a public variable named “Live Link Subject Name” and will set that attribute to the performer name.
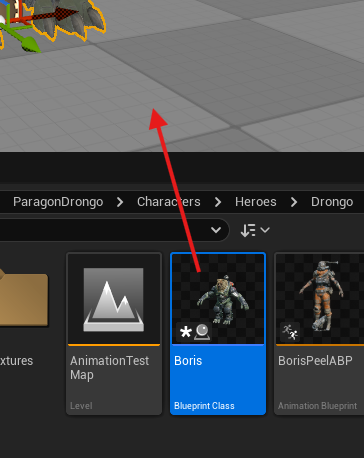
Add the Actor blueprint to you scene.
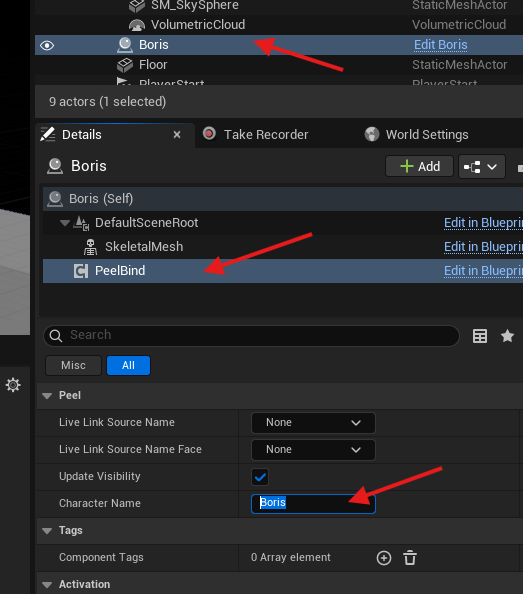
Set the Character Name property on the PeelBind in the actor that is in the scene. This needs to be done in the scene rather than on the blueprint itself to allow the same asset to be used in the scene many time with different character names, for example a soldier asset can be loaded in to the scene three times and named “Soldier1”, “Soldier2” and “Soldier3”.
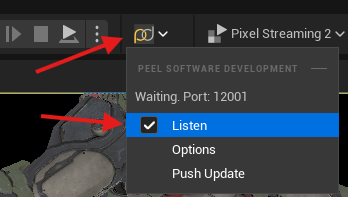
Finally, connect to PeelCapture using the PeelDev “PD” icon on the editor shelf:
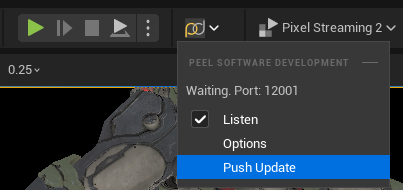
Select “Push Update” to send the names of the characters to PeelCapture:
In PeelCapture make sure Networking is enabled

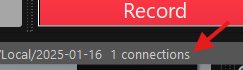
The number of current connections is shown in the status bar at the bottom.
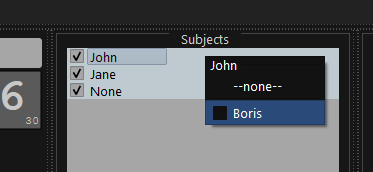
Use the subject panel to assign a Character to a performer:
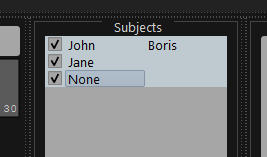
The subject (performer) name will be shown as a variable on the PeelBind component of the character in the scene:
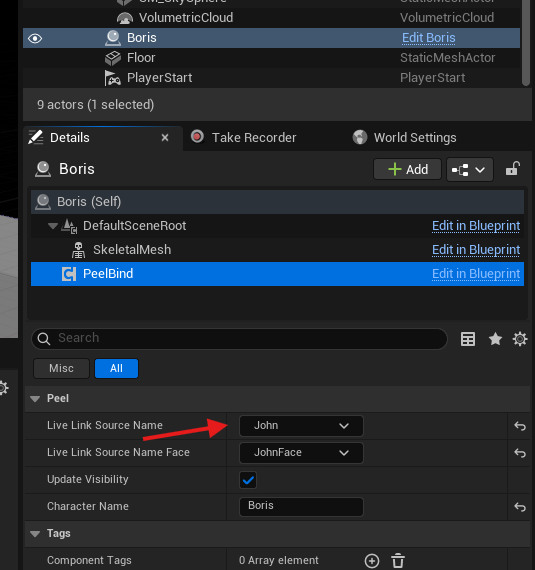
The Animation Blueprint will have the “Live Link Subject Name” variable set with the value.
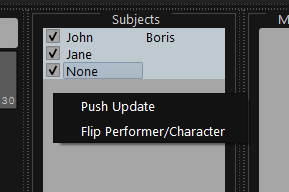
Right clicking on the Subjects panel reveals a menu. Select “Flip Performer/Character” to change the view from the Performer names on the left with dropdowns to select the character on the right and Character names on the left with dropdowns for Performer on the right.