Creating an FTrack API Key
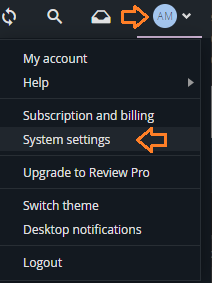
To create a new API key to allow PeelCapture to interface with FTrack, go to the System Settings in the User Menu at the top right
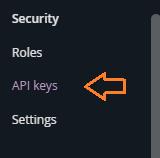
Scroll the left navigation bar to API Keys in the Security Section
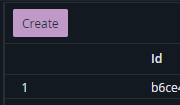
Create a new API Key by pressing the “Create” button at the top left of the table:
Give the key a descroption and select a suitable role that has the required permissions (more information here).
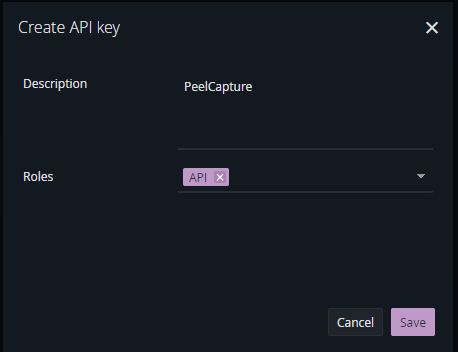
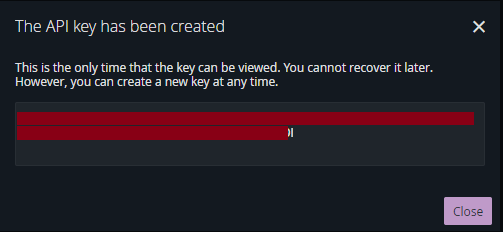
The api key will be shown after clicking “save”. Make a note of it for future use.
Configuring PeelCapture for FTrack
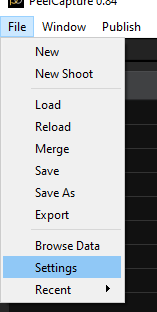
Open the PeelCapture settings
Enter the site url, username and api key
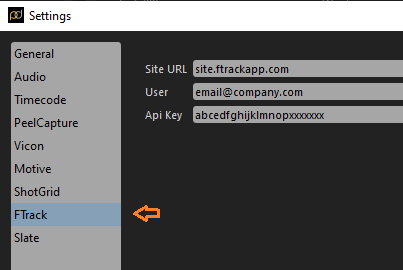
Close the Settings dialog.
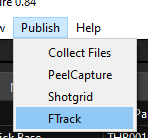
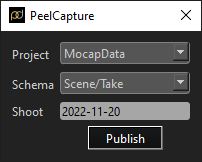
To publish data, select the Publish, Ftrack menu.
Select the project to create the entities in and the schema to use for creating new items.
Schema
More information can be found in the FTrack documentation here.
The PeelCapture FTrack integration currently supports the following heirarchies:
- Scene (Shoot Day) / Take
- Scene (Shoot Day) /Shot / Take
- Sequence (Shoot Day) / Shot
The project schema must have these elements enabled to support creating the entities.
Modifying an existing schema:
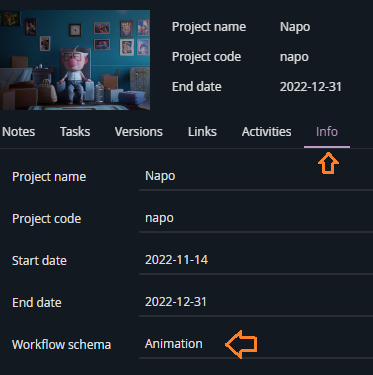
The schema a project is using is shown in the projects property “info” page
To modify a schema, select System Settings from the user menu at the top right:
Select “Schema” from the navigation menu on the left
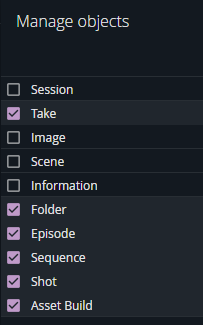
Edit the Objects that are available

Creating a new schema:
Click on the user icon at the top right and select “System Settings”
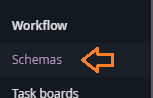
Select Workflow -> Schemas from the navigation on the left
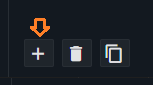
Click the “+” icon at the bottom of the list of Schemas to create a new schema
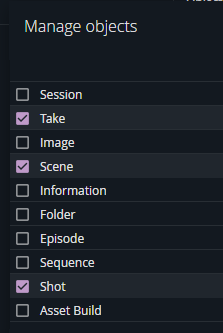
Click “Edit” in the Objects row:

Enable “Scene”, “Shot” and “Take”
Edit the Scene, Shot and Version Element type to enable Statuses